
Scaffold a project with RUNE
Use the RUNE CLI to generate a full project from a natural-language description, review every change before it's applied, and run the result.
- Natural-language scaffolding: describe what you want and the CLI creates the files.
- Step-by-step confirmation: RUNE splits large tasks into steps and asks for approval.
- Full preview: see every file change before it's written to disk.
By the end you'll have a working project scaffolded from a single prompt.
Time to complete: ~10 minutes
Prerequisites
- RUNE installed with a pulled reasoning model. If you haven't done that yet, run the Install RUNE quickstart first.
Scaffolding is a good use case for the plan or accept-edits profiles. plan asks RUNE to outline what it will do before generating anything; accept-edits lets RUNE write files without prompting per step. The default profile asks for approval on every edit, which is safest for a first run. Select one with rune --profile <name>.
Step 1: Create an empty directory and launch the CLI
Start in a fresh directory so the CLI generates the project from scratch.
RUNE starts with an empty context, ready to scaffold. It will pick up the new files into its context as it creates them.
Step 2: Describe your project
Give the CLI a clear description. Be specific about language, framework, and key features. For example:
Create a Python Flask API with two endpoints: a
/healthendpoint that returns{"status": "ok"}and a/helios/callbackendpoint that accepts a Helios KYC webhook JSON body, verifies theX-Helios-Signatureheader, and logs the verification decision. Include arequirements.txtand aREADME.
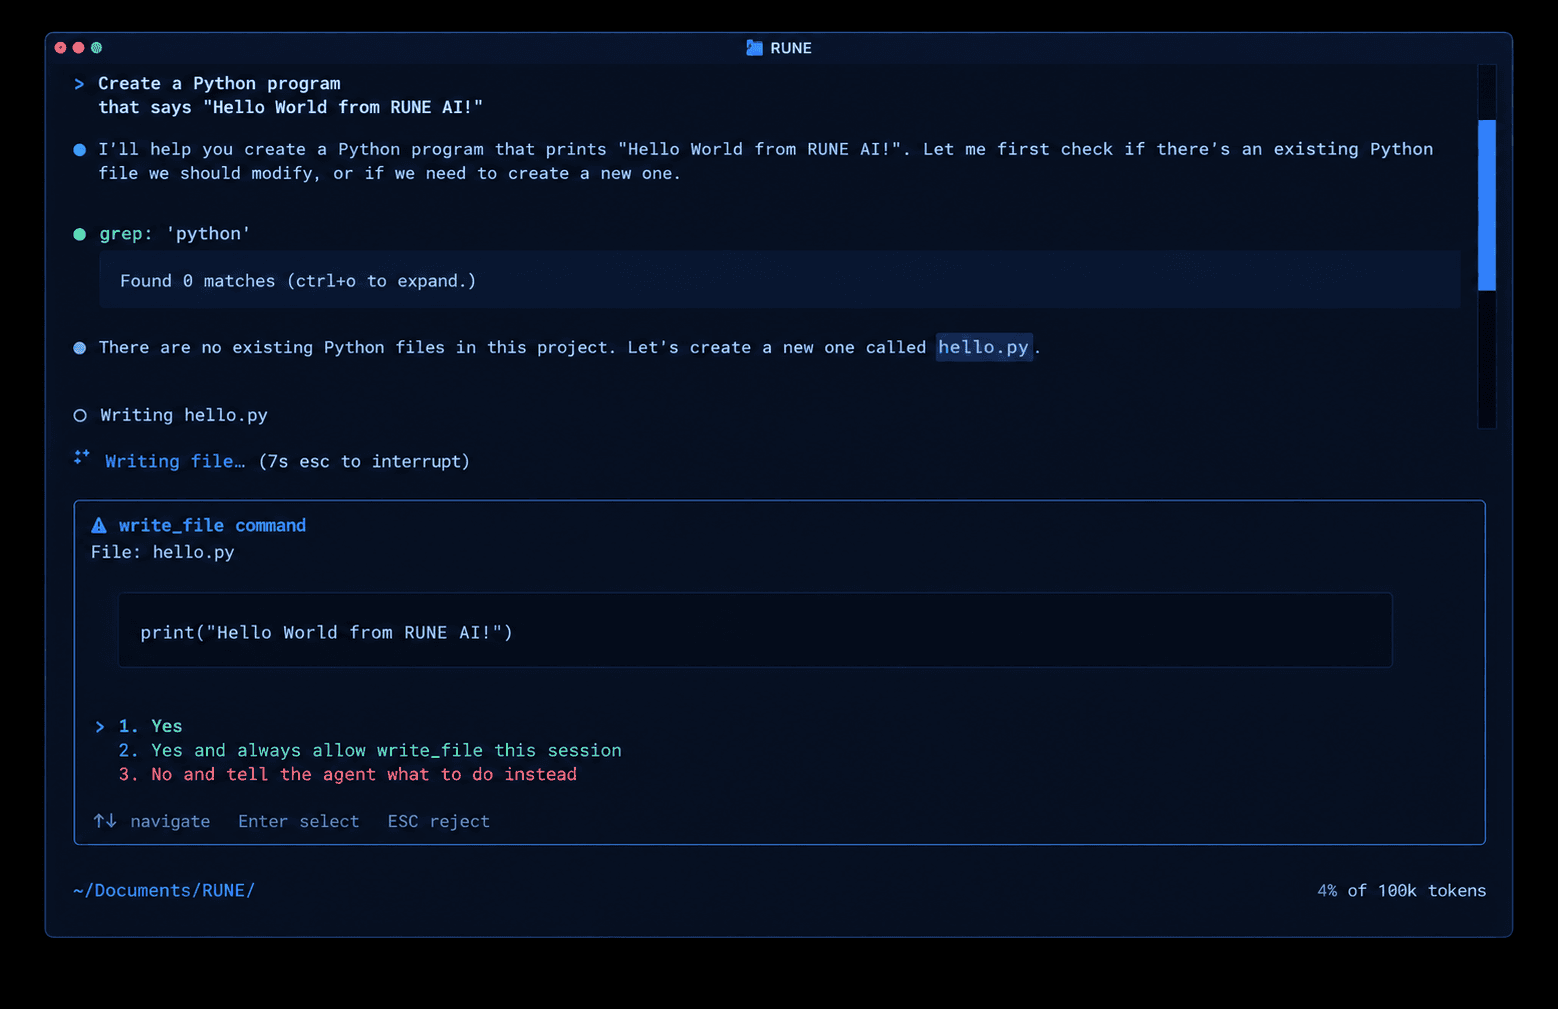
RUNE breaks the request into steps and begins generating files. Before creating or editing any file, it shows a preview and asks for approval:
Step 3: Review and approve changes
For each step, the CLI displays the files it plans to create or modify, the content of each file, and a confirmation prompt with numbered options:
- 1 to approve this specific edit.
- 2 to approve all edits of this kind for the rest of the session.
- 3 to reject and send feedback.
Navigate with ↑↓, confirm with Enter, reject with ESC.
After each approved step, the CLI shows the result:
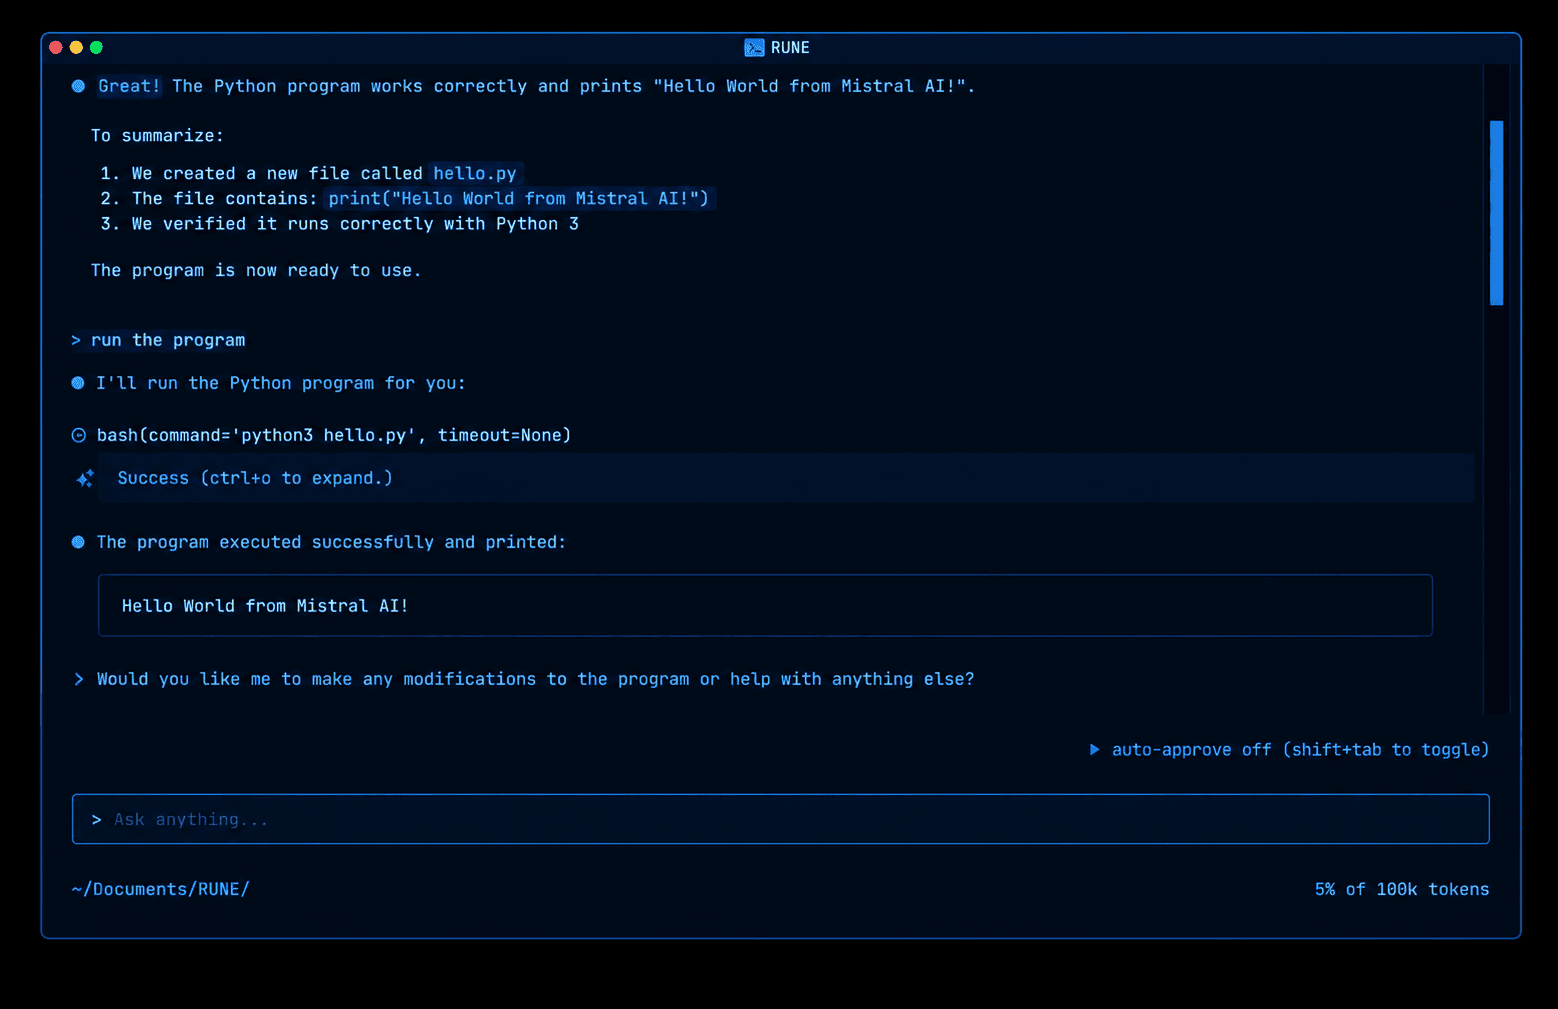
Continue approving steps until the project is complete.
Verify
Check that the project was created:
You should see the files RUNE generated (for example, app.py, requirements.txt, README.md).
Ask the CLI to start the server and test the endpoints for you:
Install the dependencies, start the server, and run a curl against
/healthand/helios/callbackto verify they work.
Or run it yourself:
Test the endpoints:
Both endpoints should return valid JSON responses. (Signature verification will reject the test signature by design — swap in a real webhook payload from Verification Status & Webhooks for a full pass.)